
Best MacBook Neo Accessories in 2026 — Ranked for Productivity
Rafael Zacheu
9 min read
Disclosure: This page contains affiliate links. As an Amazon Associate I earn from qualifying purchases. If you purchase through one of these links, I earn a commission at no extra cost to you. I only recommend products I genuinely believe in.
The MacBook Neo starts at $599 — Apple's most affordable laptop ever. For that price, you get the A18 Pro chip, a 13-inch Retina display, all-day battery life, and build quality that costs three times as much from anyone else. What you don't get: a backlit keyboard, Thunderbolt support, or more than one real port.
That last point shapes every purchase decision in this guide. The MacBook Neo has two USB-C ports. The left runs at USB 3 speed (10Gbps). The right runs at USB 2 speed (480Mbps) — barely enough for a keyboard, nothing close to enough for a display or fast drive. Everything meaningful connects through the left port. Every recommendation here starts from that constraint.

The good news: the right accessories fix every shortcoming. This MacBook Neo setup guide covers everything from the port problem (a $50 hub) to the keyboard gap ($130, used for five years) to storage (2TB SSD, $289, permanent). Each pick is ranked by how much it improves daily productivity — the only metric that matters for a macbook neo accessories decision.
Quick Picks at a Glance
| Accessory | Top Pick | Tier | Price |
|---|---|---|---|
| USB-C Docking Station | Plugable UD-6950PDH | Tier 1 | ~$180 |
| External Monitor | Dell S2725QC | Tier 1 | ~$349 |
| Keyboard | Logitech MX Keys S for Mac | Tier 1 | ~$130 |
| Mouse | Logitech MX Master 3S | Tier 1 | ~$99 |
| External SSD | Crucial X9 Pro (2TB) | Tier 2 | ~$289 |
| Laptop Stand | Rain Design mStand | Tier 2 | ~$43 |
| Desk Mat | Logitech Desk Mat | Tier 2 | ~$35 |
| Webcam | Anker PowerConf C200 | Tier 2 | ~$60 |
| Monitor Lightbar | BenQ ScreenBar Plus | Tier 3 | ~$149 |
How the Tiers Work
Tier 1 — Fix the hardware gaps first. The MacBook Neo ships with three real limitations: one usable port, no backlit keyboard, and a 13-inch screen that runs out of space fast during desk work. These fix all three.
Tier 2 — Build your workstation. Once Tier 1 is in place, these turn the MacBook Neo from a capable portable into a legitimate desktop replacement.
Tier 3 — Comfort upgrades. Worth having once the rest is complete. Defer until then.
Tier 1 — Fix the Hardware Gaps First
1. USB-C Docking Station
Before anything else, understand the MacBook Neo's port situation. There are two USB-C ports. The left runs at USB 3 (10Gbps) and outputs video via DisplayPort alt mode. The right runs at USB 2 (480Mbps) — roughly the speed of a 2008 flash drive. For any dock, display, or fast drive: use the left port only.
There is no Thunderbolt on the MacBook Neo. Thunderbolt docks (CalDigit TS4, OWC) are physically compatible but throttle to USB 3 speeds on this machine — you'd pay $300+ for identical performance. The right call is a USB-C dock with DisplayLink technology, which solves the Neo's biggest display limitation: normally it supports only one external monitor. DisplayLink unlocks two.
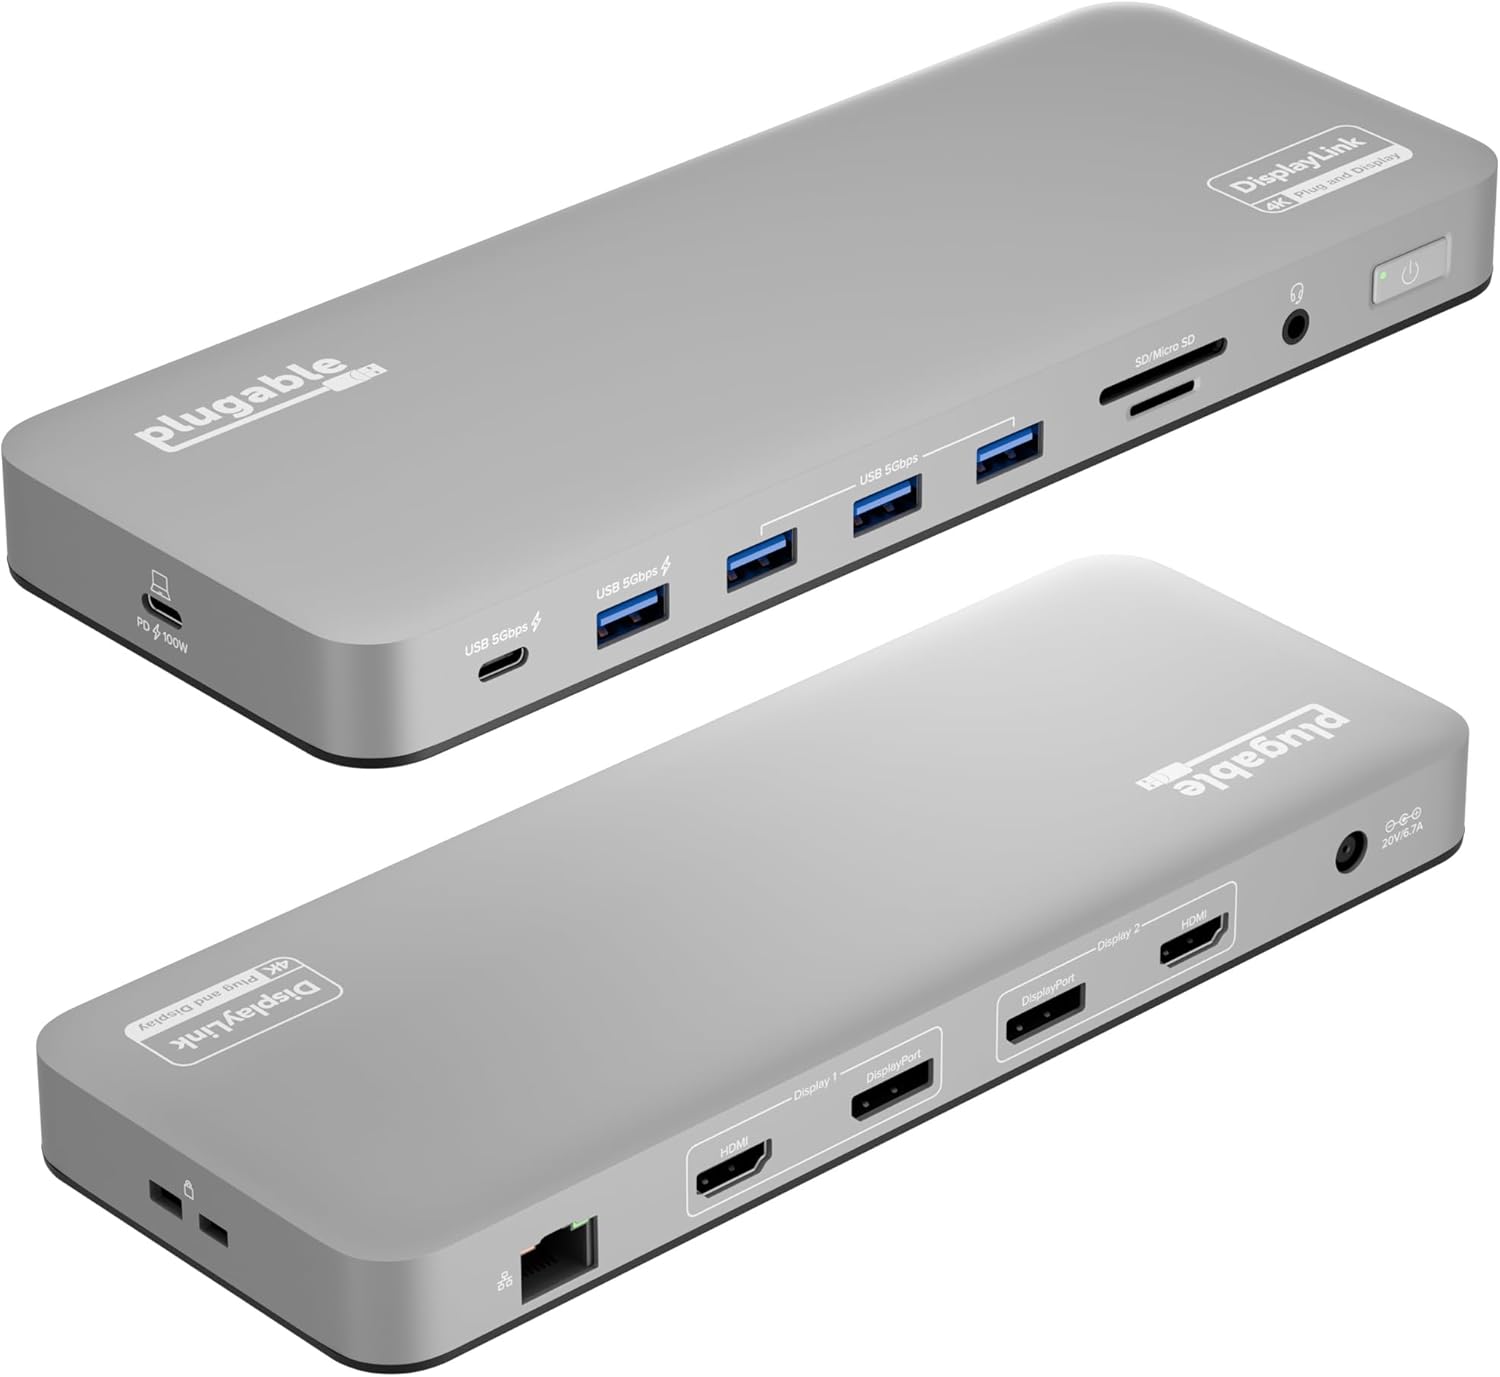
Best pick: Plugable UD-6950PDH (~$180)
Plugable
Plugable USB-C Docking Station UD-6950PDH — Dual 4K, 100W, DisplayLink
Plugable UD-6950PDH on AmazonThe UD-6950PDH uses DisplayLink to add a second 4K monitor to a machine that natively supports only one external display — the most impactful capability upgrade in this guide. It connects over a single USB-C cable and delivers: dual 4K@60Hz output via 2× HDMI and 2× DisplayPort (mix and match), 100W laptop charging, Gigabit Ethernet, multiple USB-A ports, and audio in/out. DisplayLink requires a one-time driver installation — a 5-minute setup that permanently unlocks dual-monitor capability on the Neo.
Named Best DisplayLink Dock for MacBook by Macworld.
Pros (Plugable UD-6950PDH):
- DisplayLink enables dual 4K monitors — the Neo's biggest native limitation solved
- 100W charging covers MacBook Neo at full speed under any workload
- 2× HDMI + 2× DisplayPort — mix monitors from any brand freely
- USB-C dock, not Thunderbolt — no premium paid for bandwidth the Neo can't use
Cons (Plugable UD-6950PDH):
- Requires DisplayLink driver installation — not plug-and-play like a basic hub
- DisplayLink adds minor CPU overhead (~2–5%) — negligible on A18 Pro
- $180 — more than a basic hub, significantly less than a Thunderbolt dock
Want to skip the dock entirely? If you only need one external display, a USB-C monitor with power delivery replaces the dock completely — one cable handles display output, charging, and USB peripherals with no driver installation. See the Dell S2725QC in Section 2 below.
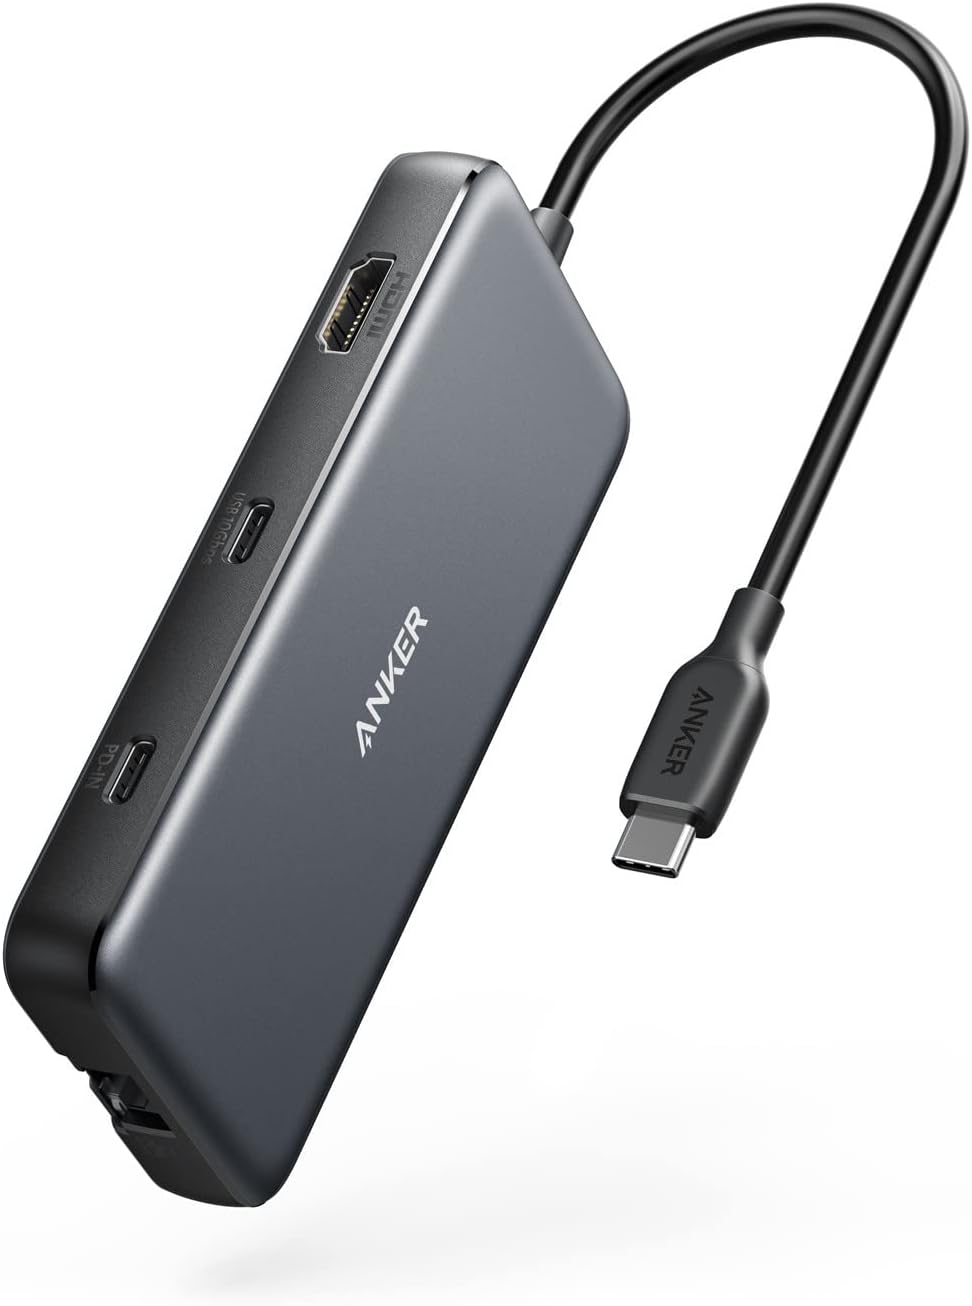
For travel: Anker 555 8-in-1 (~$50)
Anker
Anker 555 USB-C Hub 8-in-1 — 4K@60Hz, 85W Charging, Ethernet
Anker 555 8-in-1 Hub on AmazonWhen the Plugable dock stays on your desk, the Anker 555 travels with the laptop. Eight ports in a palm-sized body: 4K@60Hz HDMI, two USB-A at 10Gbps, USB-C at 10Gbps, Gigabit Ethernet, 85W passthrough charging, SD/microSD. At $50 it covers every away-from-desk scenario — hotel rooms, co-working spaces, client sites.
Pros (Anker 555):
- $50 — 8 ports at the lowest price-per-port available
- 85W passthrough charges the Neo at full speed
- Compact enough to live permanently in a laptop bag
Cons (Anker 555):
- Single external display only — no DisplayLink for dual monitors
- All ports share the 10Gbps pipe
Best for: Plugable UD-6950PDH at your desk for full dual-monitor workstation capability. Anker 555 in your bag for every other scenario.
2. External Monitor
The 13-inch built-in Retina display is excellent for $599. It is not enough screen real estate for working across multiple windows, documents, or browser tabs at a desk. An external monitor is the upgrade that changes what you can accomplish in a day more than any other item in this guide.
MacBook Neo monitor spec to know: the left port outputs 4K at a maximum of 60Hz. Monitors that advertise 4K@120Hz work correctly — they just run at 60Hz on the Neo. The 120Hz spec becomes usable if you later upgrade to a MacBook Air or Pro with Thunderbolt.
The Neo supports one external display natively. A second external monitor requires DisplayLink software — this works, but adds installation steps and a software dependency.
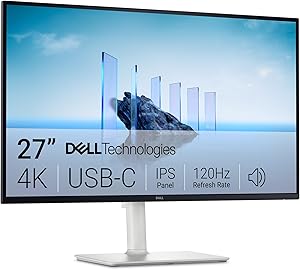
Best pick: Dell S2725QC (~$349)
Dell
Dell S2725QC 27" 4K USB-C Monitor — 120Hz, AMD FreeSync
Dell S2725QC on AmazonThe S2725QC is a 27-inch 4K IPS panel at 120Hz with USB-C carrying 65W power delivery — also a top pick in our Mac Mini accessories guide. For the MacBook Neo, one cable handles everything: 4K@60Hz display output, full-speed 65W charging, and access to the monitor's USB ports. A hub at your desk becomes optional.
The 65W PD comfortably covers the MacBook Neo under any load. The monitor also runs at 4K@120Hz when you eventually move to a Thunderbolt Mac — this display grows with you across generations.
Pros (Dell S2725QC):
- Single USB-C cable: display + 65W charging + USB hub in one run
- 27-inch 4K IPS — sharp, accurate colors at arm's length
- 4K@60Hz on Neo, upgrades to 120Hz on a future Thunderbolt Mac
- Under $400 — best value 4K USB-C monitor available
Cons (Dell S2725QC):
- 120Hz is inaccessible on the Neo — you pay for future headroom you can't use today
- Standard IPS contrast — noticeably less rich in dark environments vs IPS Black panels
- No built-in webcam at this price point
3. Keyboard
The MacBook Neo ships with no backlit keyboard. In any dim environment — evenings, a café, travel, a presentation room — you type blind. That is a $599 premium device with a feature gap that $30 keyboards have covered for years. An external keyboard fixes this permanently and doubles as your ergonomic input device when the laptop is raised on a stand.
Best pick: Logitech MX Keys S for Mac (~$130)
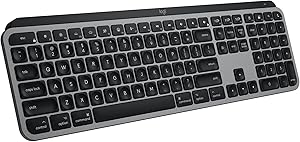
Logitech
Logitech MX Keys S Wireless Keyboard for Mac
MX Keys S for Mac on AmazonThe MX Keys S uses spherically-dished keys shaped to match fingertip surface area instead of a flat top. Most users report measurably faster, more accurate typing within the first week. Smart proximity backlighting activates when your hands approach and shuts off when you step away. Three-device Bluetooth switching pairs with the Neo, an iPad, and a second device simultaneously. USB-C rechargeable with months of battery life.
Pros (Logitech MX Keys S):
- Spherical key dish improves landing accuracy and reduces typos
- Smart backlighting — on when you need it, off when you don't
- Three-device Bluetooth with Mac-native function keys
- USB-C rechargeable, months per charge
Cons (Logitech MX Keys S):
- Fixed typing angle, no adjustable tilt
- No Touch ID integration
- Full per-app customization requires Logi Options+ software
If Touch ID matters: Apple Magic Keyboard (~$99)
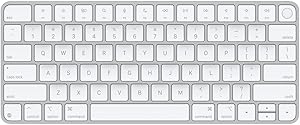
Apple
Apple Magic Keyboard with Touch ID — Bluetooth, US English
Apple Magic Keyboard on AmazonThe only way to get Touch ID on an external keyboard is Apple's own Magic Keyboard. Pairing is instant, re-pairing is never needed, and Apple Pay + biometric Mac unlock are the features no third-party keyboard can replicate. The trade-off: very shallow key travel and — importantly — the standalone Magic Keyboard has no backlighting, which means it does not fix the Neo's main keyboard gap.
Pros (Apple Magic Keyboard):
- Touch ID — the only external keyboard with it
- Zero-configuration macOS pairing
- Slim and lightweight
Cons (Apple Magic Keyboard):
- No backlighting — does not address the Neo's biggest keyboard gap
- Shallow key travel, poor feedback for fast typists
- Check listing for USB-C vs Lightning charging model
For committed typists: Keychron K3 Max (~$89–$109)
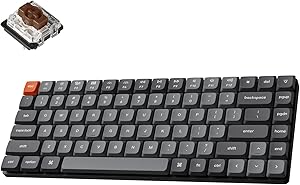
Keychron
Keychron K3 Max Low-Profile Wireless Mechanical Keyboard
Keychron K3 Max on AmazonLow-profile mechanical switches with full RGB backlighting, triple connectivity (Bluetooth, USB-C wired, 2.4GHz dongle), and QMK/VIA programmability. Brown switches deliver tactile feedback without the click noise that makes Blue switches inappropriate for shared offices. If you type for hours daily, mechanical feedback is a genuine accuracy and endurance upgrade.
Pros (Keychron K3 Max):
- RGB backlit — fully solves the Neo's keyboard gap
- Mechanical switches improve feel for high-volume typists
- QMK/VIA fully programmable without software
- Three connectivity modes including low-latency 2.4GHz
Cons (Keychron K3 Max):
- Blue switches are too loud for shared workspaces
- Thicker profile than MX Keys S
- Adjustment curve for former membrane keyboard users
Best for: MX Keys S for most users. Magic Keyboard if Touch ID unlock is the priority. Keychron K3 Max for anyone who writes or codes for hours and wants mechanical feedback.
4. Mouse or Trackpad
The MacBook Neo's built-in trackpad is one of the best in the industry. For desk use with an external keyboard and monitor, a separate input device eliminates the forward reach across the desk that accumulates over an 8-hour day.
Best mouse: Logitech MX Master 3S (~$99)

Logitech
Logitech MX Master 3S for Mac — Wireless Bluetooth Mouse, 8K DPI
MX Master 3S on AmazonThe MagSpeed electromagnetic scroll wheel switches between precise ratchet mode and 1,000-line-per-second free-spin. Seven programmable buttons with per-app configuration via Logi Options+ save 15–30 minutes per day once set up. Works on any surface including glass. 70-day battery life.
Known limitation: left-click degradation at 12–24 months of heavy use (double-click issue). Logitech has historically replaced affected units under warranty.
Pros (Logitech MX Master 3S):
- MagSpeed scroll wheel: ratchet and free-spin in one wheel
- 7 programmable buttons with per-app customization
- Quiet click switches — significantly less noise than standard
- Works on any surface, 70-day battery
Cons (Logitech MX Master 3S):
- Left-click can develop double-click issue at heavy use
- Large form factor — not suitable for small hands
- Full programmability requires Logi Options+
Best trackpad: Apple Magic Trackpad (~$149)
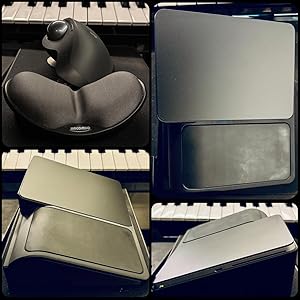
Apple
Apple Magic Trackpad — White Multi-Touch Surface
Apple Magic Trackpad on AmazonIf macOS gestures are central to your workflow — Mission Control, three-finger drag, pinch to zoom, Exposé — the Magic Trackpad delivers them on a surface larger than the built-in. Force Touch pressure sensing gives you the complete macOS gesture vocabulary. At $149, it costs $50 more than the MX Master 3S without matching it for precision clicking.
Pros (Apple Magic Trackpad):
- Full Force Touch pressure sensing — the complete macOS gesture set
- Large glass surface, best gesture real estate available
- Native macOS integration, seamless pairing
Cons (Apple Magic Trackpad):
- Slower than a mouse for precision work
- $149 — more expensive than the MX Master 3S
- Check listing for USB-C vs Lightning variant
Best for: Mouse if your day involves navigation, documents, or precision work. Trackpad if gestures drive your macOS workflow and you rarely need precision clicking.
Tier 2 — Build Your Workstation
5. External SSD
The MacBook Neo ships with 256GB. That fills quickly once you install any creative or development software, and silently fills over two or three years of normal use. An external SSD plugged into the left port's USB 3 connection delivers 1,050MB/s — fast enough to run applications directly off the drive.
Best pick: Crucial X9 Pro for Mac (2TB, ~$289)
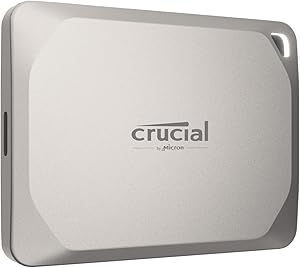
Crucial
Crucial X9 Pro 2TB Portable SSD for Mac
Crucial X9 Pro on AmazonThe X9 Pro delivers 1,050MB/s read and write — exactly the speed that saturates the MacBook Neo's USB 3 left port. The "for Mac" variant comes pre-formatted in HFS+, includes 256-bit AES hardware encryption, IP55 water and dust resistance, and a three-year warranty.
Critical: plug this into the left port. The right USB 2 port caps throughput at 480Mbps — you lose 55% of the drive's speed. Route it through the hub or directly into the left port.
Pros (Crucial X9 Pro):
- 1,050MB/s saturates the Neo's USB 3 interface completely
- Pre-formatted HFS+ — plug in and use immediately
- AES-256 hardware encryption protects business and client data
- IP55 rated — survives spills and light outdoor use
Cons (Crucial X9 Pro):
- 2TB fills faster than expected with video projects — consider 4TB if budget allows
- Right-port use (USB 2) severely throttles speed — left port only
Runner-up: Samsung T9 Portable SSD (2TB, ~$480)
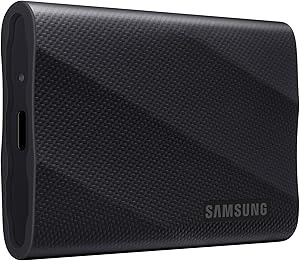
Samsung
Samsung T9 Portable SSD 2TB — USB 3.2 Gen 2x2
Samsung T9 on AmazonUSB 3.2 Gen 2x2 at 2,000MB/s — faster than the Neo can use, but future-proof for PCs or USB 4 hosts. Better drop resistance than the X9 Pro. Justified only if you frequently take the drive on-site or work across Mac and Windows.
Pros (Samsung T9):
- 2,000MB/s future-proofs for Gen 2x2-capable hosts
- Best-in-class drop protection
- USB-C cable included
Cons (Samsung T9):
- Significantly more expensive (~$480 vs ~$289)
- Speed advantage is completely unused on the MacBook Neo
Best for: X9 Pro for Mac-only setups. T9 if you travel with the drive daily or cross-platform between Mac and Windows.
6. Laptop Stand
Working with the MacBook Neo flat on a desk positions the screen 8–10 inches below natural eye level. Over a full workday this loads the cervical spine and produces the neck and shoulder tension that accumulates across weeks and months of use. A laptop stand raises the screen to eye level — at which point you need an external keyboard anyway, which Tier 1 already covers.
Best pick: Rain Design mStand (~$43)
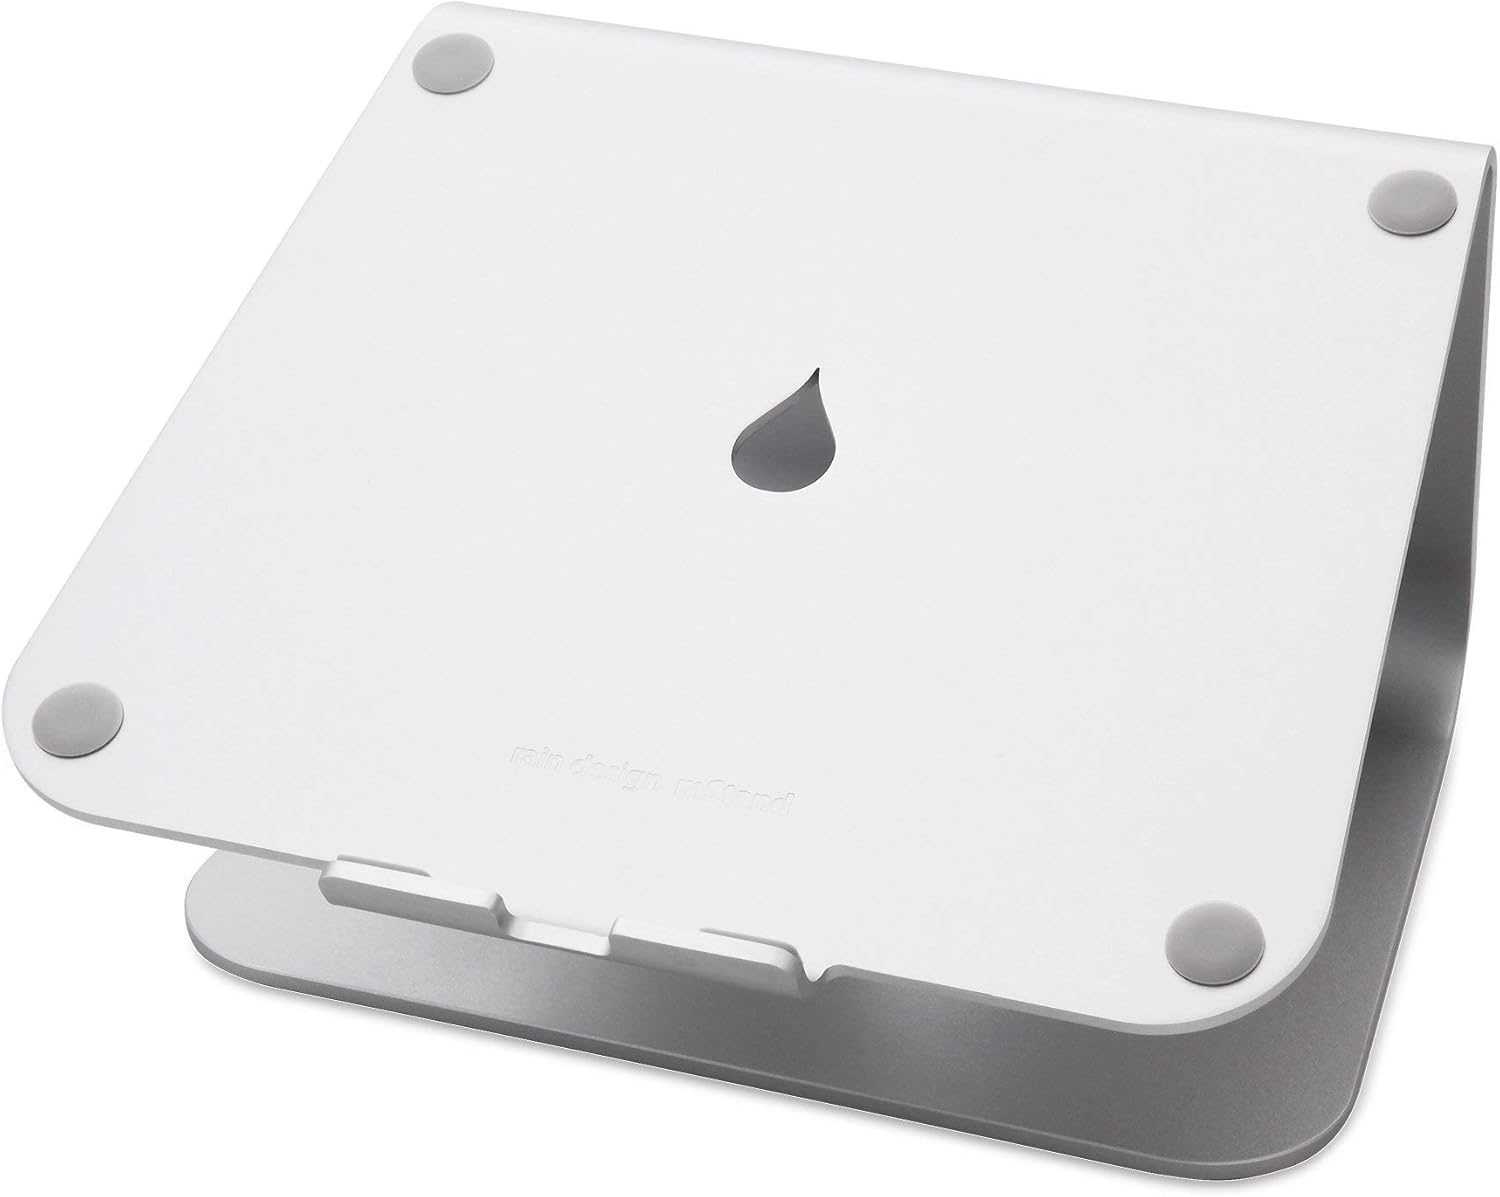
Rain Design
Rain Design mStand Laptop Stand — Aluminum, Cable Management
Rain Design mStand on AmazonSingle-piece aluminum construction machined to Apple's aesthetic. Raises the MacBook Neo 165mm (6.5 inches) at a comfortable backward viewing angle. A cable channel routes power through the back of the stand. At $43, the build quality matches accessories costing three times as much. Nothing to assemble, nothing to adjust, nothing to break.
The mStand holds one fixed angle. If you need adjustable height or portability, the Nexstand K2 below is the better call.
Pros (Rain Design mStand):
- Solid aluminum — doesn't flex when typing nearby
- Cable routing channel keeps the desk clean
- Matches MacBook Neo's aluminum aesthetic
- One-piece design: durable by default
Cons (Rain Design mStand):
- Fixed angle — not adjustable
- Desktop only, not portable
- Requires external keyboard (already covered in Tier 1)
For travel and multi-desk setups: Roost V3 (~$90)
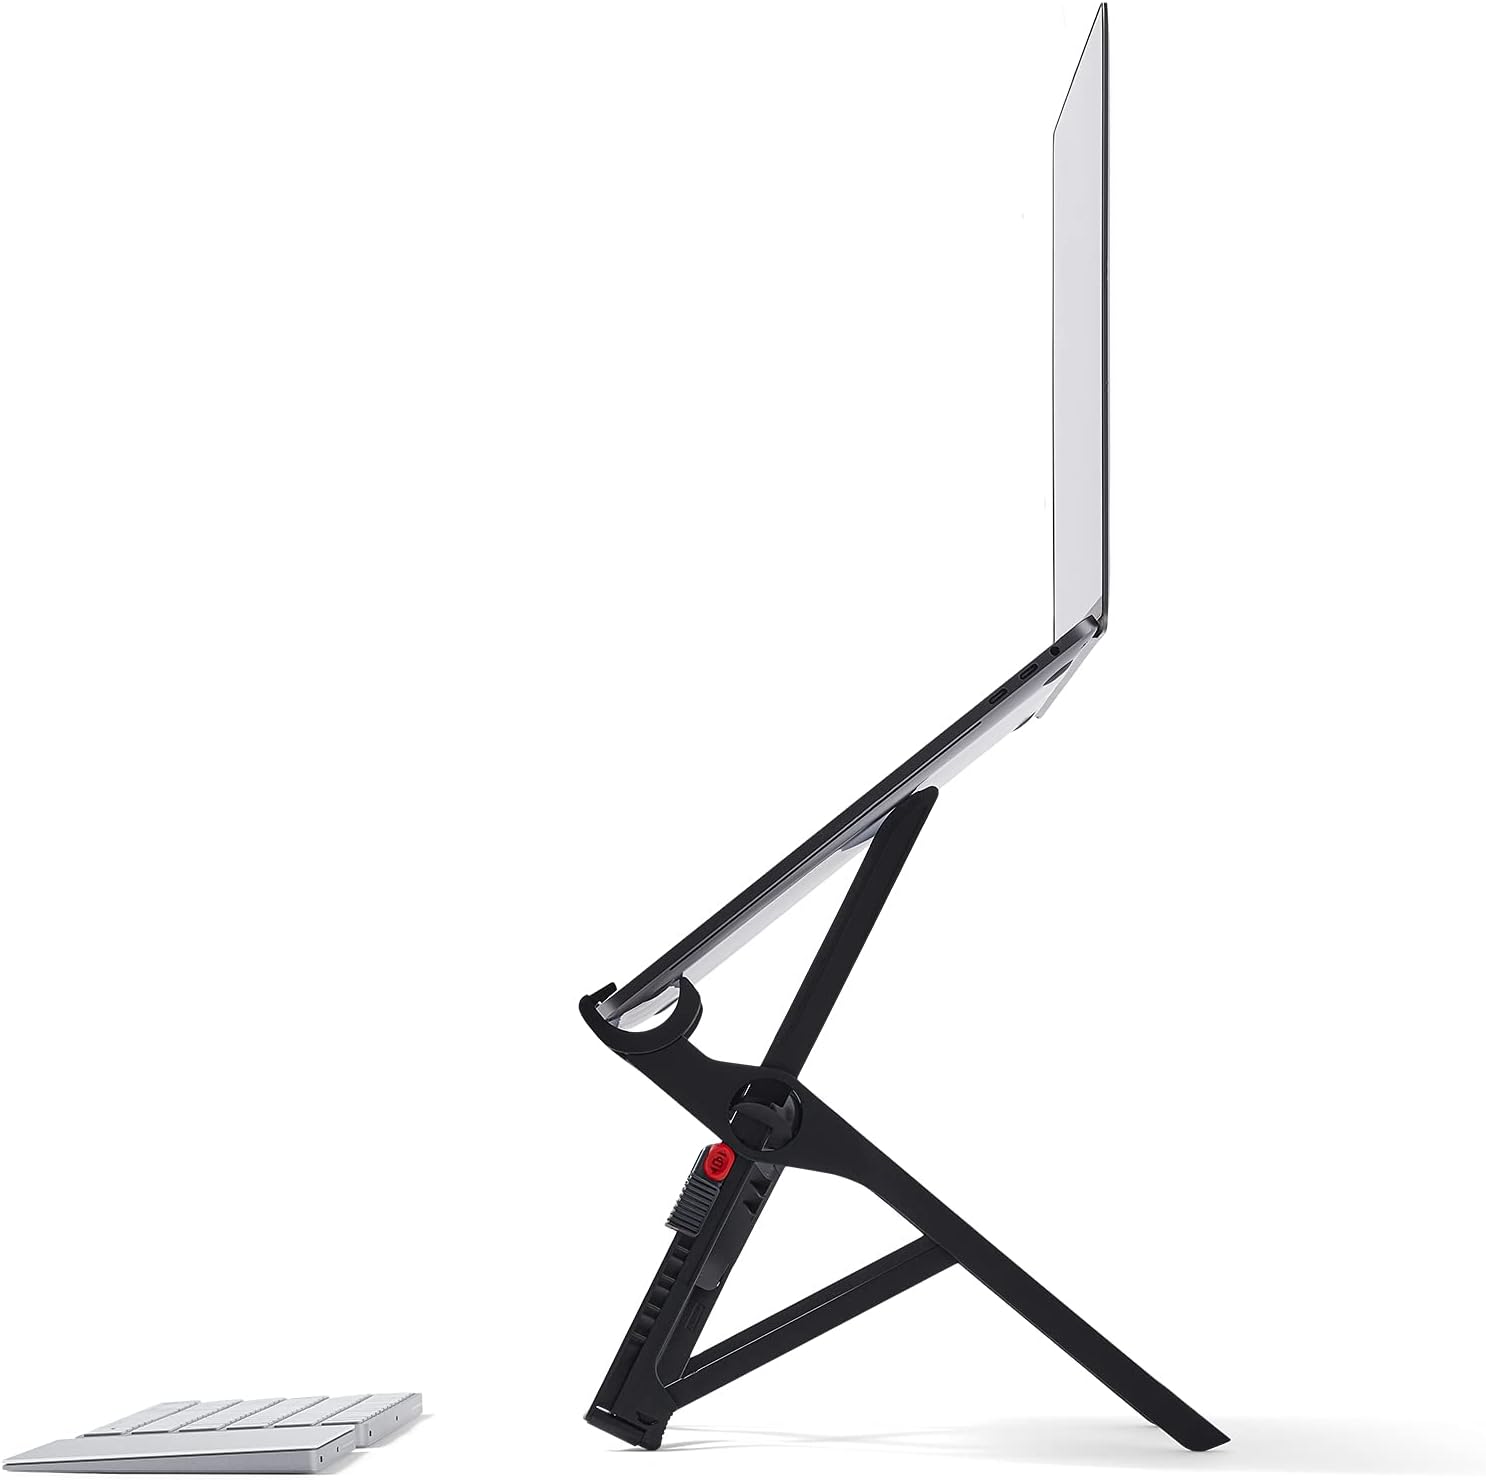
Roost
Roost V3 Laptop Stand — Ultra-Portable, 7 Height Levels, 6 oz
Roost V3 on AmazonThe Roost V3 weighs 6 oz and collapses thinner than a pencil — it disappears into any bag. Seven height positions lift the screen 6 to 12 inches, covering every desk configuration from a low co-working table to a high hotel desk. Self-adjusting grips lock onto the MacBook Neo without any setup. It is the most recommended portable laptop stand among digital nomads and traveling professionals for a reason: nothing else at this weight packs the same rigidity.
Pros (Roost V3):
- 6 oz — the lightest rigid laptop stand available
- Collapses pencil-thin — takes zero bag space
- 7 height positions from 6" to 12"
- Self-adjusting grips fit any 12–18" laptop without adjustment
Cons (Roost V3):
- $90 — more than double the mStand price
- Some users find the grips require careful centering on the first use
Best for: mStand for a permanent desk. Roost V3 if you travel frequently or work from multiple locations.
7. Desk Mat
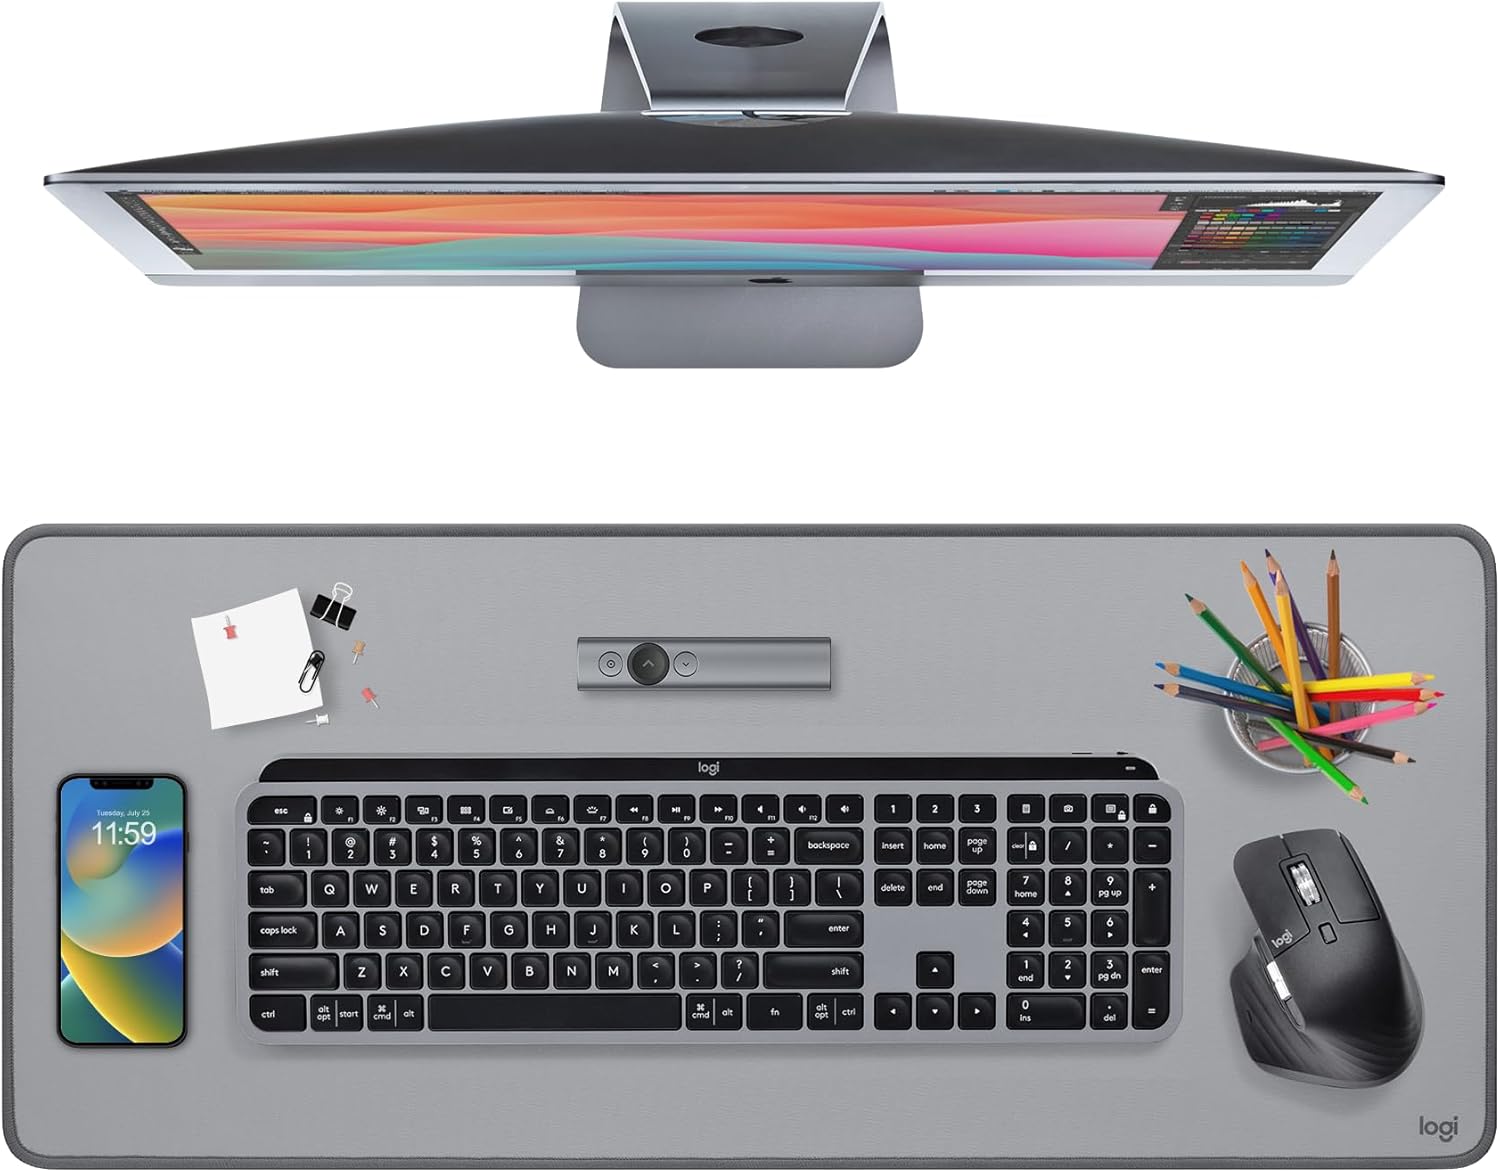
A desk mat does three things simultaneously: gives your mouse a consistent surface across the full desk, protects the wood from scratches and spills, and creates a visual anchor that makes a setup look intentional rather than assembled. At $35, it is the highest aesthetic return per dollar in this guide.
Best pick: Logitech Desk Mat Studio Series (~$35)
Logitech
Logitech Desk Mat Studio Series — Large Anti-Slip, Spill-Resistant
Logitech Desk Mat on AmazonThe Logitech Desk Mat covers the full width of a typical desk, giving the MacBook Neo, external keyboard, and mouse a unified surface. The microfiber top is smooth enough for any mouse sensor and comfortable for extended wrist contact. A spill-resistant coating handles the inevitable desk coffee incident. The anti-slip rubber base keeps it anchored without gripping desk varnish. Available in Mid Grey, Off White, and Rose — all are neutral enough to complement any setup.
The Desk Mat was originally bundled with Logitech MX peripherals because Logitech tested it against their own mice. The MX Master 3S and MX Keys S you've already bought from Tier 1 are spec-matched to it.
Pros (Logitech Desk Mat):
- Full-desk coverage — mouse, keyboard, and laptop on one unified surface
- Spill-resistant coating — survives daily desk use without staining
- Anti-slip rubber base — stays put without damaging desk finish
- Flat stitched edges — won't fray or curl at the corners
Cons (Logitech Desk Mat):
- 700 × 300mm — covers most desks but falls short on very wide setups
- Fabric surface, not leather — absorbs oils over time, needs occasional cleaning
- Not the thickest pad — minimal wrist cushioning compared to dedicated wrist rests
Best for: Anyone running the Logitech MX Keys S and MX Master 3S. The trio is purpose-built together.
Premium pick: Nordik Leather Desk Mat (~$45)

Nordik
Nordik Leather Desk Mat — Premium Vegan Leather, 35×17", Cable Organizer
Nordik Leather Desk Mat on AmazonIf you want a mat that looks and feels like a deliberate design choice rather than an office supply, the Nordik is it. Vegan leather surface — smooth, durable, and easy to clean with a damp cloth. No pilling, no fraying edges, no smell. The built-in cable organizer loops at the back keep your desk wires routed and out of sight. At 35×17 inches it matches the Logitech mat footprint but the material quality is in a different category: it only gets better-looking with use.
Pros (Nordik Leather):
- Vegan leather surface — smooth for any mouse, easy to wipe clean
- Improves with age — the texture develops character over time
- Built-in cable organizer loops — keeps wires off the desk surface
- Available in multiple colors to match any setup aesthetic
Cons (Nordik Leather):
- ~$45 — costs more than the Logitech fabric mat
- Leather surface is less forgiving for high-DPI gaming mice (not a concern for work use)
Best for: Logitech Desk Mat if you want a no-fuss fabric mat that pairs with Logitech peripherals. Nordik if you're investing in a setup that looks as good as it performs.
8. Webcam
The MacBook Neo's built-in FaceTime camera covers casual calls. For professionals who video call clients, partners, or their team daily, image quality communicates professionalism even when the other side doesn't consciously comment on it. A dedicated USB webcam is a one-time purchase that changes how you appear on every call going forward.
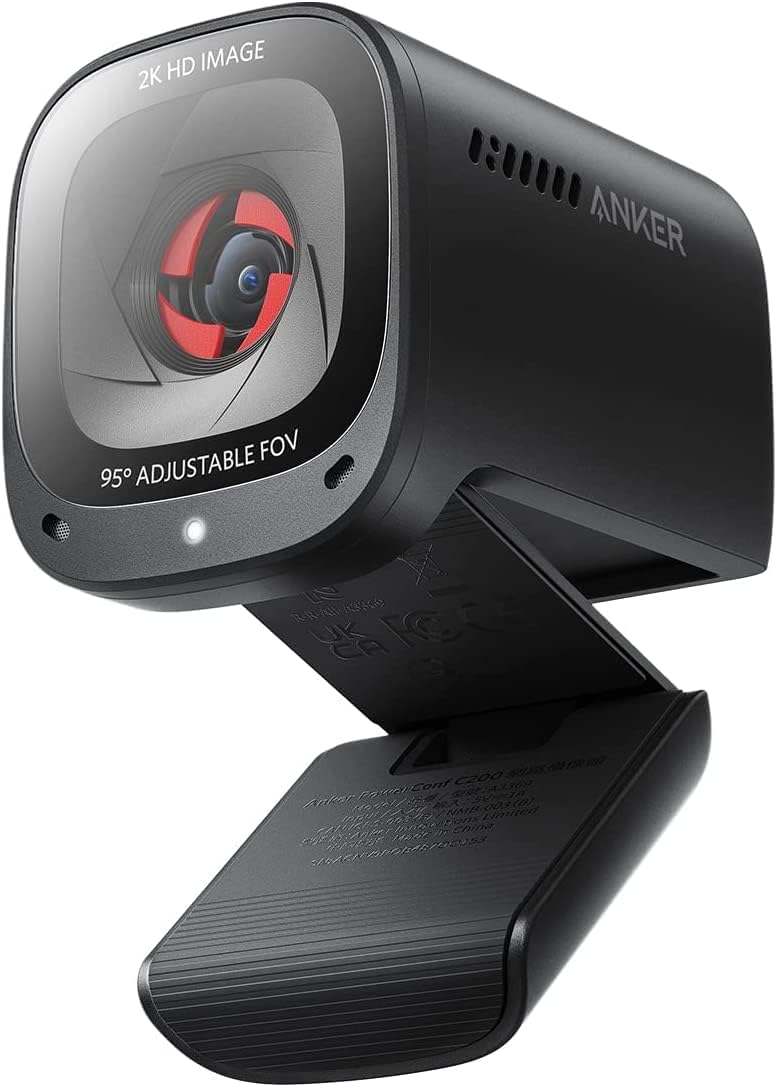
Best pick: Anker PowerConf C200 (~$60)
Anker
Anker PowerConf C200 2K Webcam — Adjustable FoV, AI Noise-Canceling Mics
Anker PowerConf C200 on AmazonThe C200 punches well above its price. 2K resolution delivers sharp, detailed video that makes you look genuinely professional on any call — a clear step above the MacBook Neo's built-in camera. The standout feature is the adjustable field of view: switch between 65°, 78°, and 95° directly in the AnkerWork app to control exactly how much of your room appears in frame. Tight angle for focused solo calls, wide angle when you need to show a whiteboard or bring a colleague into frame. AI noise-canceling dual mics handle keyboard noise and HVAC hum without any additional microphone. Built-in privacy cover slides shut when the camera isn't in use.
Pros (Anker PowerConf C200):
- 2K resolution — sharp, professional image at a fraction of 4K webcam prices
- 3 adjustable field-of-view options (65° / 78° / 95°) — dial in your frame precisely
- AI noise-canceling dual mics — good enough to skip a separate USB microphone
- Built-in privacy cover — physical shutter, no software needed
- ~$60 — best value webcam in this guide
Cons (Anker PowerConf C200):
- 2K, not 4K — visible difference on large external monitors vs 4K webcams
- No gimbal tracking — camera is fixed position
- AnkerWork app required to switch field of view
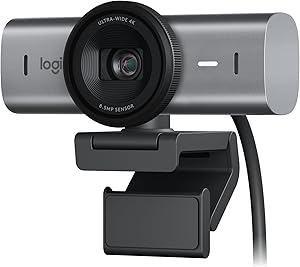
Premium option: Logitech MX Brio 4K (~$170)
Logitech
Logitech MX Brio 4K Ultra HD Webcam
MX Brio 4K on Amazon4K UHD at 30fps, 1080p at 60fps, strong autofocus in variable lighting. Show Mode tilts the camera downward to your desk — useful for demonstrating products or documents on calls. If 4K sharpness on large displays matters for your client calls, this is the upgrade from the C200.
Pros (Logitech MX Brio 4K):
- 4K UHD — maximum sharpness available in a webcam
- Show Mode for desk demonstrations during calls
- Plug-and-play on macOS, no app required
Cons (Logitech MX Brio 4K):
- $170 — nearly 3× the price of the Anker C200
- 4K only at 30fps
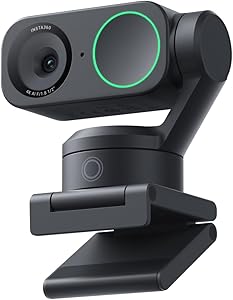
Best for movement: Insta360 Link 2 (~$149)
Insta360
Insta360 Link 2 — PTZ 4K Webcam with AI Tracking
Insta360 Link 2 on AmazonThe Link 2's 1-inch AI gimbal tracks your face in real time and keeps you centered as you move. The large 1/2" sensor also handles low-light better than most webcams. If you teach, present standing up, or move around during calls, the gimbal eliminates the off-frame problem permanently.
Pros (Insta360 Link 2):
- Physical AI gimbal — stays on your face as you move
- Better low-light than MX Brio
- Gesture control (wave to start/stop recording)
- $149 — less expensive than MX Brio
Cons (Insta360 Link 2):
- Larger physical footprint on monitor top
- Tracking can overcorrect during fast movements
- App required for full feature access
Best for: MX Brio for static desk professionals. Insta360 Link 2 for teachers, trainers, and anyone who presents from a standing position.
Tier 3 — Comfort Upgrades
9. Monitor Lightbar
Best pick: BenQ ScreenBar Plus (~$149)
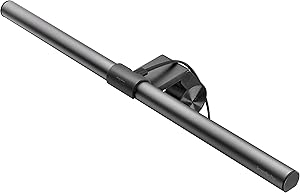
BenQ
BenQ ScreenBar Plus — LED Monitor Light with Wireless Dial Controller
BenQ ScreenBar Plus on AmazonMounts on the monitor's top edge and lights your desk without any reflection on the screen surface. The Plus version adds a wireless dial controller for brightness and color temperature (2,700K warm to 6,500K daylight) — no reaching behind the monitor to adjust. For 8+ hour workdays, reducing eye strain has compounding value: fewer headaches, more consistent output in the final hours of the day.
Pros (BenQ ScreenBar Plus):
- Asymmetric anti-glare optics — illuminates desk, not screen
- Wireless dial — brightness and color temperature without cables
- 2,700K–6,500K covers warm evening through bright daylight modes
- Tool-free clip mount
Cons (BenQ ScreenBar Plus):
- $149 — desk lamps at $30–50 partially address the same problem
- Lights desk surface only, not surrounding walls
- Requires monitor with flat or near-flat top edge to clip onto
Best for: Anyone working 8+ hours in variable lighting. Not worth prioritizing until Tiers 1 and 2 are complete.
Build the Setup in Order
The MacBook Neo's real cost is $599 plus the accessories that fix its hardware gaps. In that order.
Start with the dock. The Plugable UD-6950PDH at $180 turns the left port into a full workstation and — critically — unlocks a second external monitor that the Neo cannot drive natively. If you're running only one monitor, the Dell S2725QC's USB-C input already handles display, charging, and USB in one cable; add the Plugable when you're ready for dual screens.
Add the monitor when screen real estate becomes the constraint. For most users, that's within the first week. The Dell S2725QC is the right answer: single USB-C cable, 4K, 65W charging, and 120Hz headroom for your next Mac.
Fix the keyboard before you accept the limitation. The missing backlit keyboard is the MacBook Neo's most common complaint. The MX Keys S at $130 eliminates it permanently with a keyboard you'll use for years.
Buy storage before you need it. The 256GB base fills gradually, then all at once. Get the Crucial X9 Pro before the low-storage notification appears.
Then build upward. Laptop stand when your neck tells you it's time. Webcam when call quality starts to affect how you show up professionally. Lightbar last.
A complete setup — Plugable UD-6950PDH, Dell S2725QC, MX Keys S, MX Master 3S, Crucial X9 Pro, mStand, and MX Brio — runs approximately $1,260 on top of the $599 Neo. That is a $1,860 total for a workstation that outperforms configurations costing $3,000+ when built around a higher-end laptop. The accessories you buy today follow you to whatever Mac comes next.
The return on investment is in the hours, not the hardware.
Tags: